
So I went to build a hoop and make as thorough a tutorial as I could (as some others I found were made by people who were really used to doing it and I think they left out little steps) So here's a tutorial for beginners from a beginner.
First off, the supplies:
you may have to go to a couple places to get everything, I hit Lowe's, Target, and Sam Ash. Here's the list
- coil of 100 or 160 psi poly irrigation tubing in 3/4" or 1" (you can get it at Lowe's in the plumbing section in a 100 foot coil for about $22)
- a roll of gaffer's tape, which is huge and costs about $17 (I couldn't find it at any hardware stores, so I googled it and found that Sam Ash and Guitar Center carry it. You can also use duct tape, but it wraps a bit funny around the tubing.
- 3/4" or 1" connectors, about 40¢ each (also in plumbing)
- some sandpaper, I used a scrap of 60 grit
- a heat gun OR a hair dryer OR a pot of boiled water
- several rolls of colored electrical tape (I got a small pack at Target, but used up the yellow roll before the hoop was done. So I went to Lowe's and got more in a bigger roll)
It does add up, but if you have a couple friends you can go in together and still make a bunch of hoops. The 100 foot coil is really a lot of tubing that you kinda have to see un-taped on your living room floor to appreciate.
OK, so step 1 is to assemble your materials together

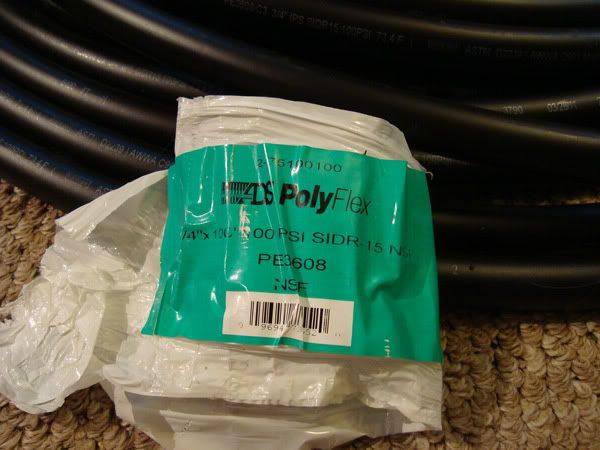
I decided to try the 100 psi tubing to try and bruise myself less, haha

these are the bigger rolls of tape I had to get, mid project, that I should have gotten first :P
Step 2
Decide how big you want your hoop to be. Generally, you want the top of the hoop to come up somewhere between your belly button and the middle of your chest. The bigger the hoop is, the easier it is to turn and smaller hoops are good for off body stuff (which I haven't gotten to yet)

Here are 2 example sizes; the blue hoop is chest height for easier hooping (and you can learn on it a little easier before moving to a smaller hoop). The red hoop is about waist height and is better for hooping at the knees or etc. Also the smaller one is much easier to cram into a car if you need to take it somewhere.
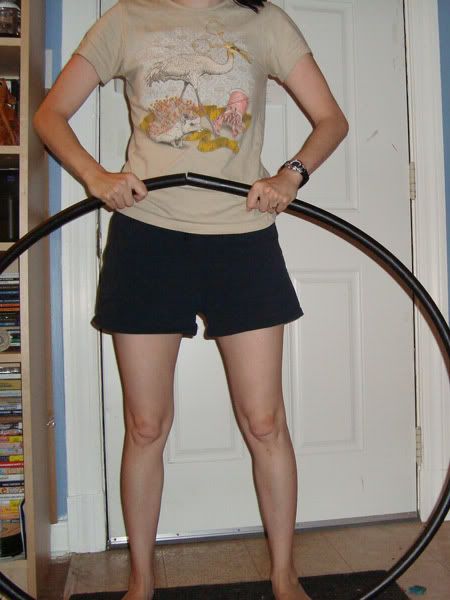
I made a big and small hoop. Pictured above is the latter.
You can cut the tube with pretty much anything that's designed to cut wood. I used a miter saw, and made a pretty straight cut. Once you cut, sand the ends of the tube
Step 3
Take your hair dryer/heat gun and heat up the ends of the tube to put the connectors in. I don't have a process pic because I was the only one in the house and couldn't get a good angle. But just make sure not to heat the end too much or burn your fingers and the connector goes right in. I did this one end at a time and had no problems.
If you have neither a hair dryer or heat gun, you can use a pot of boiling water. When the water is at a rolling boil, dip one end of the tube in for a few seconds, and then stick the connector in tube.

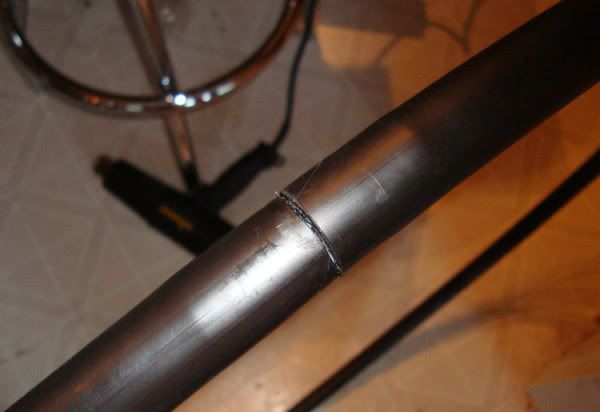
I also sanded a bit around the connection to smooth it out a bit, it looks awful but will be covered with tape eventually and no one will be the wiser. Of course you should wait til the tubing is cooled before you do this and not be impatient like I was.
I also took a bit of electrical tape and wrapped around the connected end so there wouldn't be a little gappy place before the gaffers tape went on.
Step 4
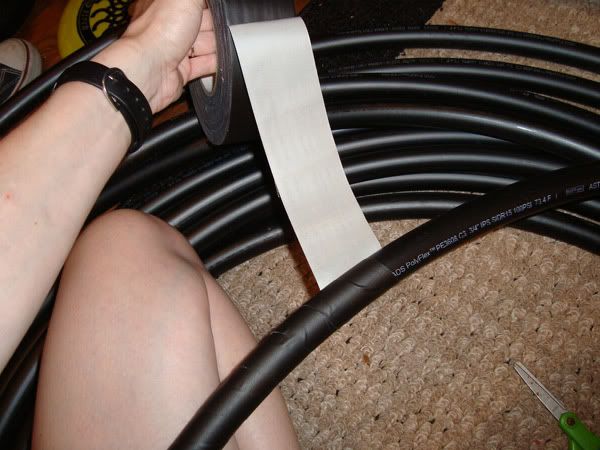
Very carefully start wrapping the gaffers tape around your hoop. The angle is important, and I was 2/3 around the hoop before I got it right (but since this is my first hoop, I'm ok with that) You want the tape to overlap only slightly if at all, and you may have to do several strips because eventually the tape overlap gets bigger. It's so much easier to wrap with smaller tape later, but the big tape is somewhat of a pain. Also, this is a good time to watch netflix, because it will be boring and take a while to cover your naked hoop.
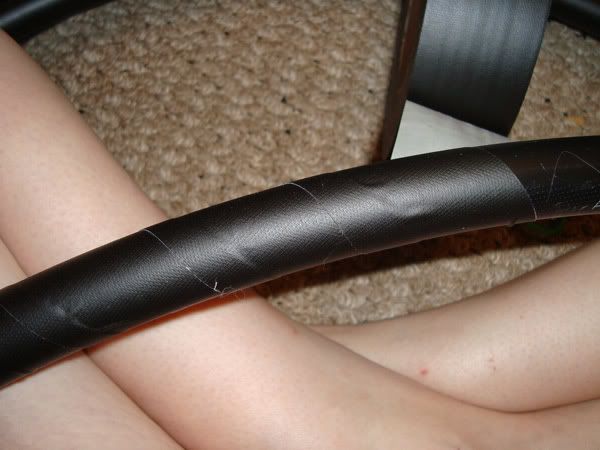
here's where I finally got an angle that worked, and it still could have been a little more.
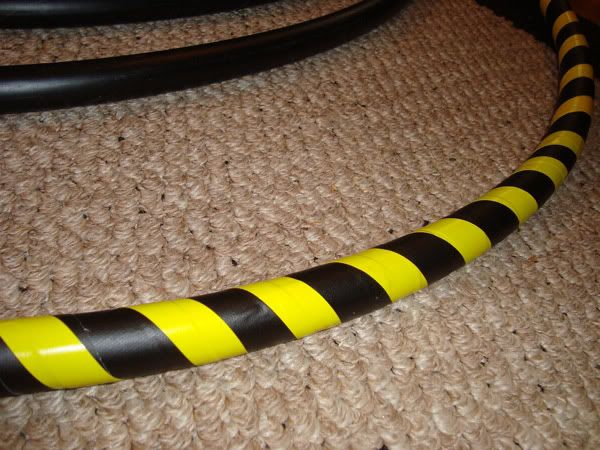
Step 5
The best part! Making the hoop look FANCY! And again, it is loads easier to wrap little tape nicely and you can do endless patterns and designs. I did a quick google image search for "hula hoop tape patterns" for ideas, but decided to go simple on my first hoop.
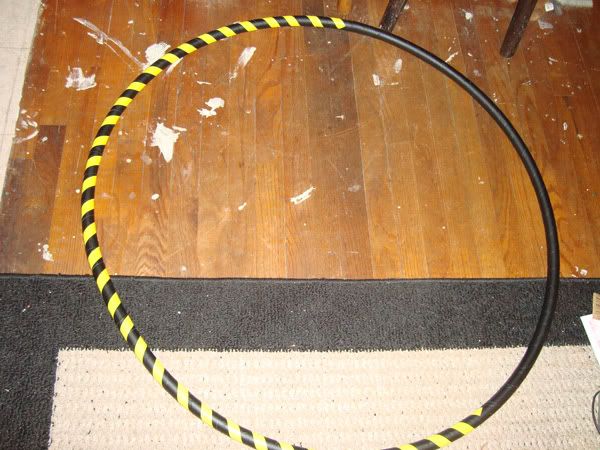
This was what happened when I used the tiny roll of Target tape that I had hoped would last at least 1 hoop. It didn't, and so I went to Lowe's to get a bigger roll. (excuse the painty floor, when we ripped up the carpets recently we discovered the previous painters hadn't bothered to cover anything because they were covering it up with carpet eventually anyways)
Step 6
Go test it out! Get yourself out into that overgrown backyard that hasn't been tended because you've been off camping and whirl around like a crazy person.
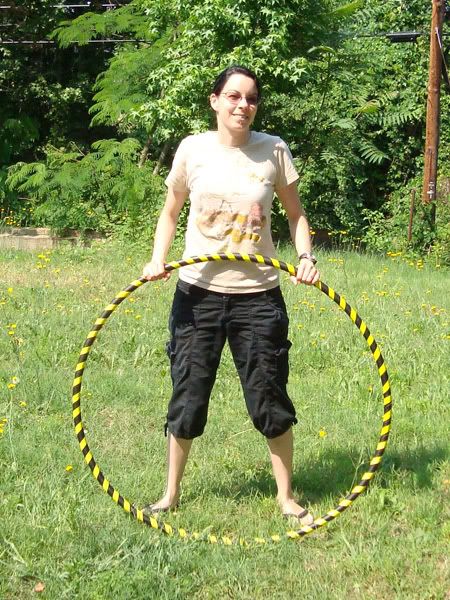
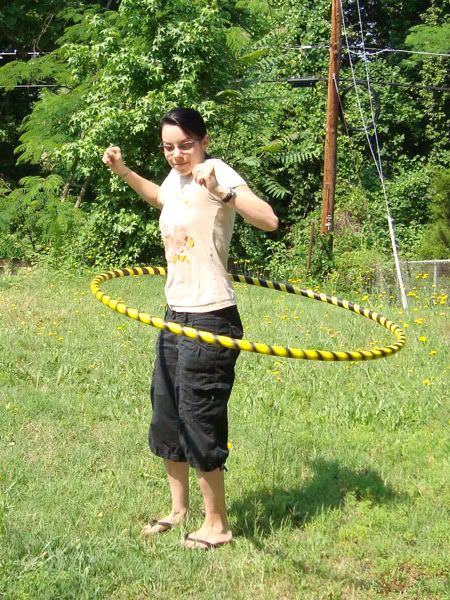
I love this hoop because it's BEES COLOR! hahaha, I have more ideas for different patterns of tape. This one was kept simple because it was my first.
Links to places to buy exciting hoop tape!
hooptape.com seems to have pretty good pricing and selection
identi-tape has some really fancy stuff but a bit pricey
hoop supplies I just ordered some tape from them, not bad prices
ebay I just did a search for "hoop tape"
tape brothers they take paypal, you can order in bulk or small amounts, and they have a ridiculously huge selection of tape
This has been a hopefully very thorough tutorial for making your first hoop. If I have left anything out, let me know and I'll add it in, or make some suggestions because I think some parts could be a bit clearer. I may draw a figure of the connector adding step to make that a little easier to understand.
No comments:
Post a Comment